how to put up paneling in basement
Step 3 - Installing the Wall Paneling You can start installing the wall paneling. Step 5 Finish and trim out the plywood ceiling.

Types Of Basement Wall Panels Designing Idea
Many types of paneling are available for the basement.
. Some even include insulation. Step 4 Glue and Nail them up. Wood paneling can come with a veneer finish and thicker panels are of better quality.
Starting in the corner place vertical strips every four feet between your horizontal furring. Ad Rock Bottom Prices - Buy Now. Also referred to as a densifier these sealers react with chemicals in concrete or bricks and absorb the chemicals to create a waterproof wall.
Drill holes on each end of the panel at a distance of about 16 inches from the edges. Some panels also have grooves in them or they may be veneered with a photographed. Get Inspired Floor Decor Today.
You may expect some moisture because your basement is. It sure doesnt look like a plywood ceiling. Use a nail set and wood putty to eliminate the appearance of nail heads.
Then starting in a corner nail or glue a vertical furring strip between the horizontal furring strips with the widest part of the strip against the wall. Make sure cut openings line up. You can choose from several types and styles of basement wall panels.
Tap in place with a rubber mallet. Add a strip at the base. Start in the corner and drive a row of nails every 16 inches to correspond with the 2-by-4s.
Tape a one-foot by one-foot square of plastic sheeting plastic kitchen wrap will do to the concrete wall in your basement with duct tape and leave it in place for 24 hours. Apply adhesive with a caulk gun in a W or wave pattern. You can select paneling made from pine plywood particle board or foam to name a few.
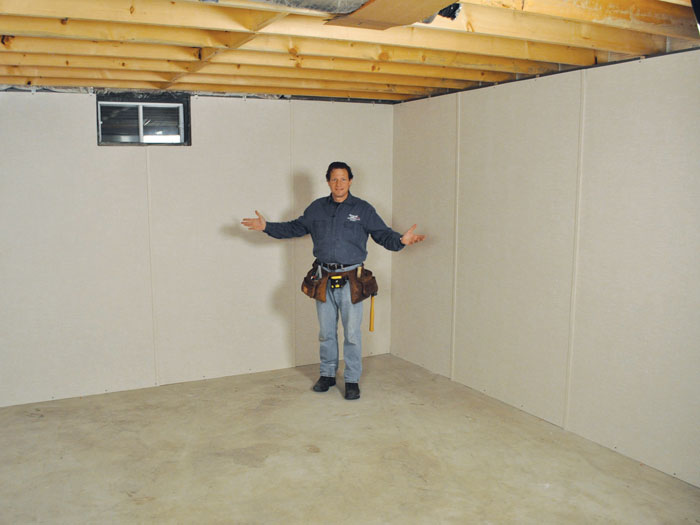
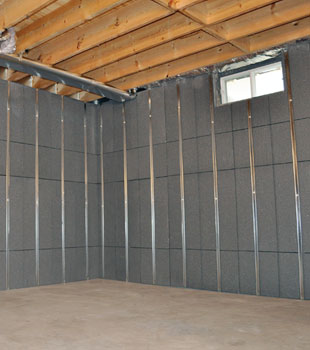
Walls that appear dry may actually become damp when enclosed by paneling. Additionally it is important to contact your local government to make sure that you are complying with building codes. Install plastic sheeting over your existing basement walls to waterproof them then install paneling on top of that to give the room a finished look.
Each has its own good and bad points. This article explains the most widely-used basement wall panels and their uses. If you live in a moist climate this basement wall system may be perfect for you.
Begin with all of the hard cuts first. Add water in very slowly as you mix. Begin by installing furring strips horizontally along the top and bottom corners of the wall.
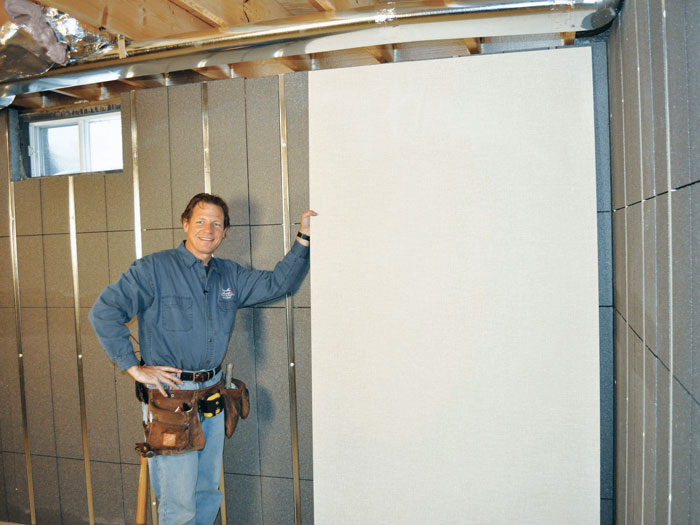
Position and press the panel into place. Stand a board of paneling against the wall and nail it into place with the finishing nail gun. Step 1 Strip down to the joists and make a plan.
Use either 1 x 2 or 1 x 4 kiln-dried lumber of 12 plywood strips cut 2 wide. Use a level to plumb the panel before installing additional sections. Repeat this step with the next panel till you cover all the walls with the panels that you need to install.
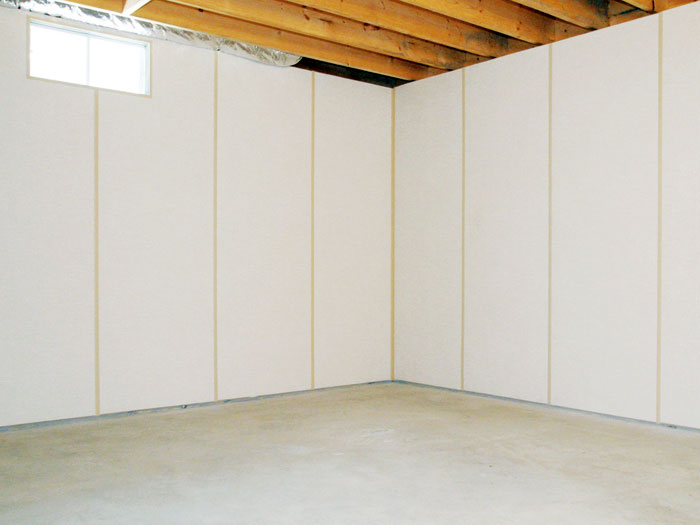
And make sure not to add too much. Add warmth beauty to your home with natural-looking WoodHaven ceiling planks. Repeat until walls are covered.
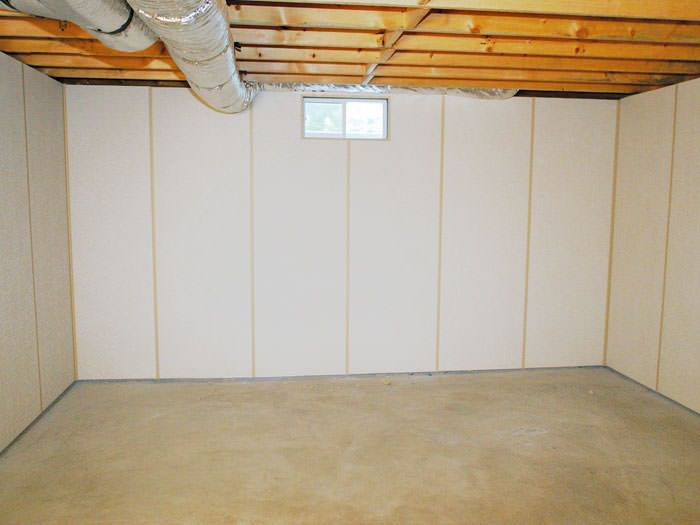
If you add too little the material will be too thick to spread. Also make two holes on the inward edges. With the paneling installed you should consider any finish work you must do in the basement.
The tongue-and-groove edges of. Measure 16 from the corner and mark a vertical line by snapping the chalk line. Next move to the vertical furring strips at every few intervals usually at every 16 inches.
Starting at the top space strips horizontally 16 apart using shims to line them up for the true vertical plumb. Browse Our Variety Of Wall PanelsGet Inspiration Today. Cover them with wood putty for a perfect finish.
Then remove the tape. Ad WoodHaven ceiling planks are great for covering up damaged drywall or popcorn ceilings. If the material appears watery then youve added too much water.
The final step is to glue then nail moulding into place with finishing nails. Step 3 Measure and rip strips for the raised sections. Plastic Basement Wall Panels.
Step 2 Put up the big sheets. Position the panel next to the wall and press it into place. Begin by attaching the horizontal furring strips all along the top and bottom perimeter of the walls.
Then install the panels as you would with any other basement paneling piece. You can install the strips with adhesive. Ad Shop A Variety Of Products Such As Dowels Trim Wall Panels Planks And Moulding.
For complete step-by-step instructions for this DIY project watch this friendly and straightforward video tutorial. How To Install A Basement Parge Coat. You can fill a.
Drill a concrete screw to fix the panel to the wall.
Insulated Basement Wall Panels In Milwaukee Janesville Rockford Madison Basement Wall Insulation
Insulated Basement Wall Panels Installed In Mn Basement Wall Panels For Insulation In Minneapolis Saint Paul Rochester

Types Of Basement Wall Panels Designing Idea

Installing Basement Wall Products Upgrading Your Basement Walls With Waterproof Insulated Panels

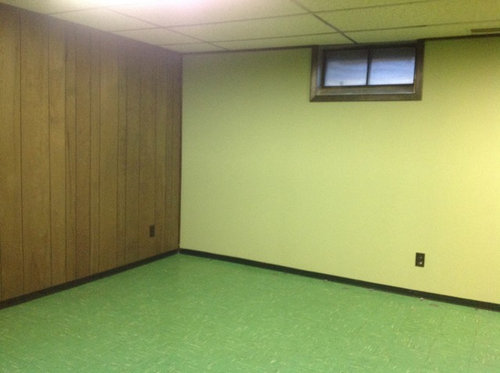
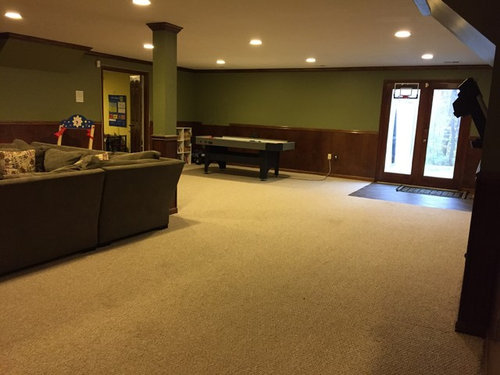
Painted Paneling In Basement But Could We Keep The Green Bar Basement Makeover White Wainscoting Basement Family Room
Insulated Basement Wall Panels In Milwaukee Janesville Rockford Madison Basement Wall Insulation

How To Install Wall Paneling Walls Paneling Youtube
Our Basement Wall Products
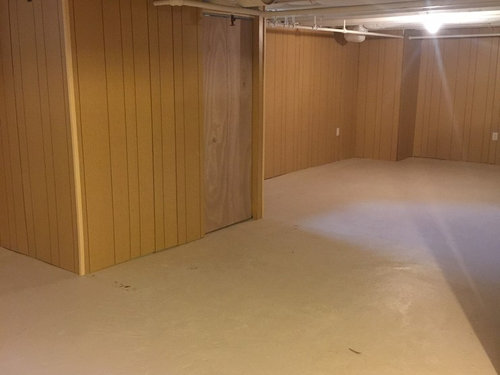
Paint Color Dilemma For Basement Paneling
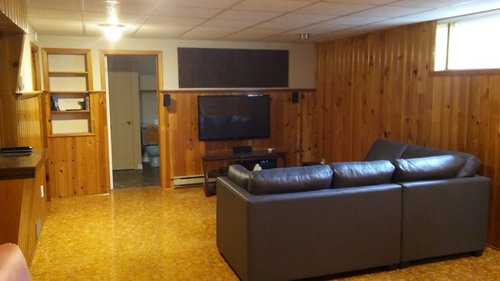
Basement Wood Paneling

Basement Make Over Basement Remodeling Waterproofing Basement Paneling Makeover
What Do I Do With Basement Wood Paneling
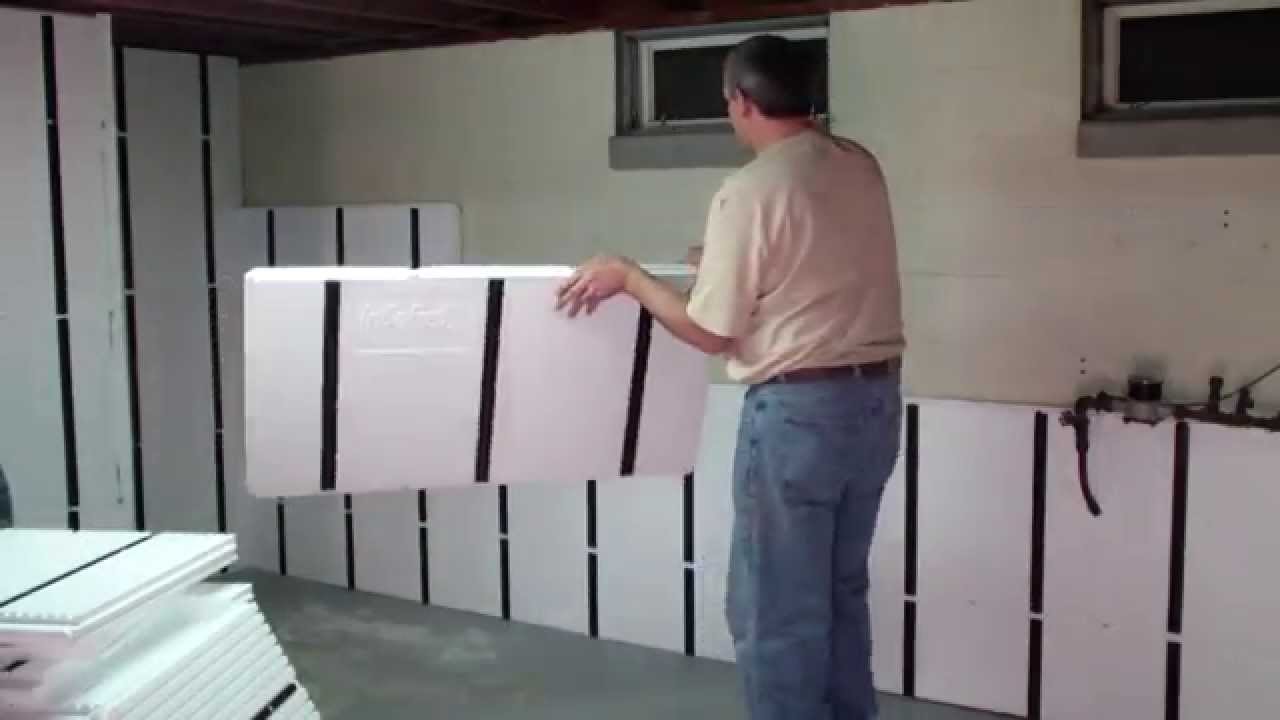
Installing Insofast Panels On A Basement Wall Youtube

Pine Paneling Installation In Your Home Basement Basement Walls Basement Wall Panels Wall Panel Design

6 Basement Wall Options News And Events For Woods Basement Systems Inc
Need Help With Old Basement Paneling
Insulated Basement Wall Panels In Milwaukee Janesville Rockford Madison Basement Wall Insulation

Pin On Granite

Why Choose Tbf S Wall Panels Instead Of Drywall News And Events For Total Basement Finishing Of Western Ny